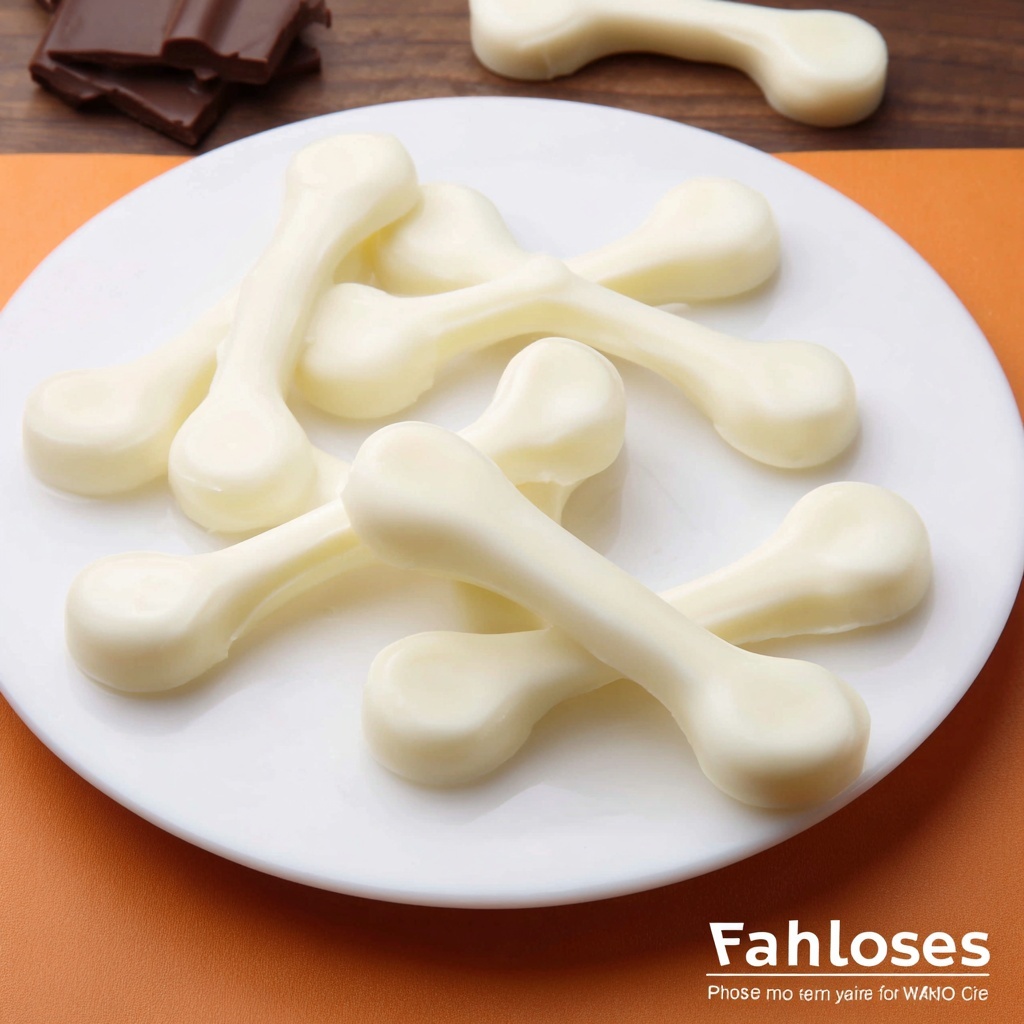
If you’re looking for a fun and utterly delightful treat that’s perfect for sharing with friends or adding a touch of whimsy to your dessert table, this Chocolate Wishbones Recipe is going to steal your heart. Imagine crisp, smooth white chocolate shaped into delicate wishbones that feel both festive and elegant. They’re surprisingly easy to make with just a few simple ingredients, yet the resulting texture and beautiful shape will leave everyone asking for more. Whether it’s a party favor, a sweet snack, or a charming garnish on your dessert spread, these chocolate wishbones truly shine.
Ingredients You’ll Need
The magic of this Chocolate Wishbones Recipe lies in the simplicity and quality of its ingredients. Each component plays a vital role, from providing the creamy texture of the chocolate to ensuring the wishbones hold their intricate shape perfectly.
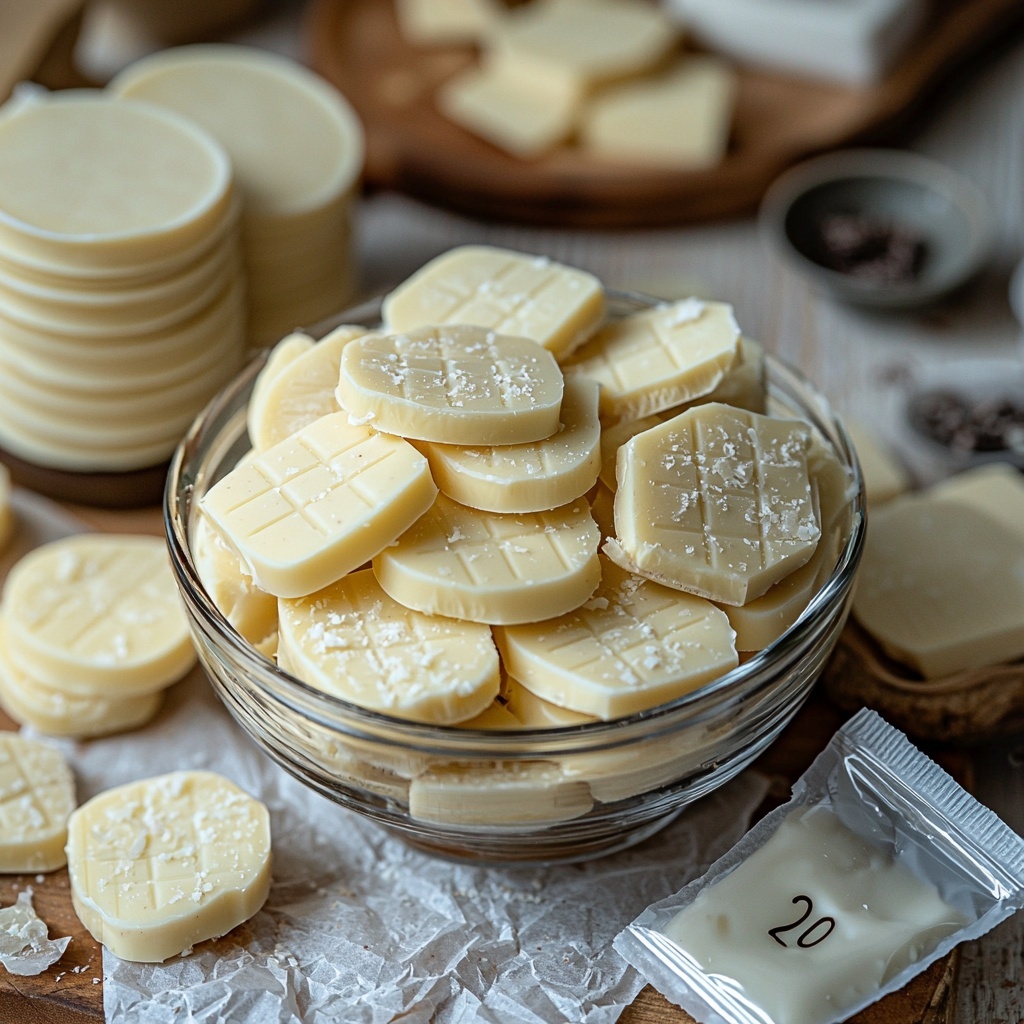
- 12 oz White Chocolate Wafers/Melts/Bark: Choose a good quality, smooth white chocolate for a creamy finish and easy melting.
- Sandwich size baggie: Acts as your piping bag; a small snip at the corner lets you draw the perfect wishbone shape.
- Parchment paper: Prevents sticking and allows your chocolate wishbones to set beautifully with clean edges.
How to Make Chocolate Wishbones Recipe
Step 1: Prepare Your Workspace
Begin by lining a cookie sheet with parchment paper. This is crucial to ensure your delicate chocolate wishbones don’t stick and come off easily once hardened. Having your tools ready and your chocolate set to melt will streamline the process.
Step 2: Melt the White Chocolate
Place your white chocolate wafers into a microwave-safe bowl. Microwave them in 30-second intervals, stirring between each session until smooth and fully melted. This method helps avoid burning and keeps the chocolate shiny and luscious for piping.
Step 3: Load the Baggie and Snip the Corner
Spoon the melted chocolate into a sandwich-sized baggie carefully. Then, snip just a tiny bit off one corner—remember, a little goes a long way when piping detailed shapes! This small opening will help you control the flow for precise wishbone outlines.
Step 4: Pipe the Wishbone Shape
Start at the bottom of the wishbone by gently squeezing to create a small oval base. Without lifting the baggie, sweep to the left side, forming a graceful half-heart curve. When you reach your desired height, squeeze extra chocolate to form another small oval, giving the wishbone that distinctive double curve at the top.
Step 5: Complete the Wishbone and Set
Lift the baggie off the parchment briefly, then return to the bottom oval to pipe the right side symmetrically, mirroring the left. Once all wishbones are on your baking sheet, chill them in the refrigerator for 3 to 5 minutes until firm and ready to enjoy or store.
How to Serve Chocolate Wishbones Recipe
Garnishes
These chocolate wishbones look absolutely charming on their own but feel free to get creative! Lightly dust them with edible glitter or fine cocoa powder to add sparkle and depth. You can even use colorful sprinkles on the white chocolate before it sets for a festive touch.
Side Dishes
Serve these wishbones alongside fresh berries or a bowl of mixed nuts to balance their sweetness and add textural contrasts. They’re also fantastic paired with rich hot cocoa or a chilled glass of dessert wine for a special treat.
Creative Ways to Present
Presentation is everything when it comes to making treats feel extra special. Try placing individual wishbones in clear cellophane bags tied with ribbon for party favors. Alternatively, arrange them standing upright in a jar or lying around the edges of a cake plate to add whimsy to your dessert display.
Make Ahead and Storage
Storing Leftovers
Because these wishbones are made of solid white chocolate, they store beautifully in an airtight container at room temperature. Keep them in a cool, dry place away from direct sunlight to preserve their crisp texture and prevent melting or discoloration.
Freezing
If you want to keep your chocolate wishbones fresh for longer, wrap them carefully in parchment and place them in a freezer-safe container. When stored properly, they can last up to three months frozen without losing their delightful snap and flavor.
Reheating
No need to heat these treats. White chocolate wishbones are best enjoyed chilled or at room temperature to maintain their crunch and flavor. If you freeze them, simply let them thaw at room temperature before serving.
FAQs
Can I use regular white chocolate instead of wafers or melts?
You can, but white chocolate bars often have lower melting points and can seize more easily. Candy melts are specially formulated to melt smoothly and hold their shape better for piping the delicate wishbone designs.
What should I do if my chocolate becomes too thick to pipe?
Gently reheat it in short bursts of 10 seconds in the microwave, stirring between each until it returns to a smooth consistency. Avoid overheating to prevent burning or graininess.
How do I make sure my wishbones don’t break?
Use good-quality chocolate and be gentle when handling. Chilling them properly and storing them in a rigid container helps maintain their shape and prevents breakage.
Can I use dark or milk chocolate instead?
Absolutely! Experimenting with different chocolate types is fun. However, white chocolate provides the best visual appeal for the classic wishbone look in this recipe.
How many wishbones does one batch make?
One bag of melts, about 12 ounces, makes approximately two and a half dozen chocolate wishbones, perfect for sharing or gifting.
Final Thoughts
There’s something truly joyful about creating and sharing these charming little treats. The Chocolate Wishbones Recipe combines simplicity, elegance, and a touch of whimsy, making it perfect for any occasion where you want to spread some sweet happiness. I encourage you to give it a try and watch how quickly these delicate delights disappear—and hopefully, bring a few wishes to life along the way!
Print
Chocolate Wishbones Recipe
- Prep Time: 5 minutes
- Cook Time: 5 minutes
- Total Time: 10 minutes
- Yield: 24-30 wishbones
- Category: Dessert
- Method: No-Cook
- Cuisine: American
- Diet: Vegetarian
Description
Delightfully simple and fun to make, these Chocolate Wishbones are crafted from melted white chocolate into delicate wishbone shapes. Perfect as festive decorations or charming treats, they only take minutes to prepare and a quick chill to set.
Ingredients
Ingredients
- 12 oz White Chocolate Wafers, Melts, or Bark
- Parchment Paper (for lining the baking sheet)
- Sandwich Size Plastic Baggie (for piping)
Instructions
- Prepare the Setup: Line a cookie sheet with parchment paper to prevent the chocolate wishbones from sticking after piping.
- Melt the Chocolate: Place the white chocolate wafers or melts in a microwave-safe bowl. Microwave for 30 seconds, then stir. Continue microwaving in 15-30 second increments, stirring each time, until the chocolate is fully melted and smooth.
- Fill the Piping Bag: Spoon the melted chocolate into the corner of a sandwich-sized plastic baggie. Snip off a very small tip of the corner to create a piping opening, ensuring the hole isn’t too large for precision.
- Pipe the Wishbone Shape – Left Side: Starting at the bottom, gently squeeze the bag to create a small oval shape to form the base of the wishbone. Without lifting the bag, pipe the left side by curving upward and outward as if creating half of a heart. When you reach the desired height, pipe another small oval to complete the top left of the wishbone, squeezing a little extra chocolate to hold the shape.
- Pipe the Wishbone Shape – Right Side: Lift the bag off briefly, then return to the bottom oval and pipe a mirror image of the left side to complete the wishbone shape.
- Set the Wishbones: Transfer the cookie sheet to the refrigerator and chill for 3-5 minutes, or until the chocolate hardens completely.
- Serve or Store: Once set, gently peel the wishbones off the parchment paper and enjoy immediately or store them in an airtight container for later use. One 12 oz bag of melts yields approximately 24-30 wishbones.
Notes
- Use good quality white chocolate melts for smooth, glossy results.
- A very small tip cut on the baggie ensures better control while piping.
- Chilling in the fridge speeds up the setting process and helps keep the shapes intact.
- These wishbones make excellent cake toppers, party favors, or edible decorations.
- Store in a cool, dry place away from direct sunlight to prevent melting or blooming.

